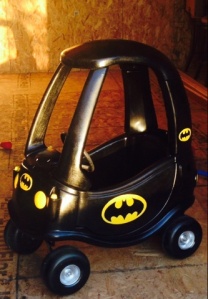
Batmobile Cozy Coupe conversion DIY

BATMOBILE COZYCOUPE


Tools and Supplies:

  • 2-3 cans of Black Rust-Oleum Spray Paint (Glossy) for plastic
  • 1 can of Yellow Rust-Oleum Spray paint for plastic
  • 1 can of Chrome Rust-Oleum Spray paint for plastic
  • Philips screw driver
  • Finishing sand paper (if you have an old beat up cozy coupe you are using)
  • painters tape
  • cardboard to spray paint on and for blocking mist
  • exacto knife
  • silicone clear caulk (optional)
  • Little Tikes Cozy Coupe
  • Some old small paint brushes (for touch ups)
  • White Distilled Vinegar

Instructions:

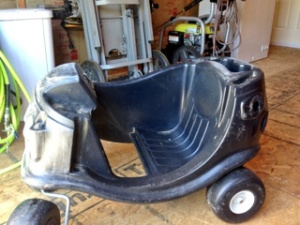
1. Disassemble your cozy coupe. I used an old police car Cozy Coupe (with the eyes). My in laws had it in their backyard from when K was younger, and their dogs chewed on it a bit.

2. Clean every nook and cranny with soap and water, rinse really well, and the wipe down with vinegar, rinse well, then let pieces dry completely.

3. Lightly sand any the cozy coupe if needed or desired. If your Cozy Coupe is in decent shape I would skip this portion. I was not so lucky. The dogs had left some nice gouges and partially eaten the gas cap.

IMG_2159

3. Dust off or rinse all sanded parts to remove any particles, then let dry.

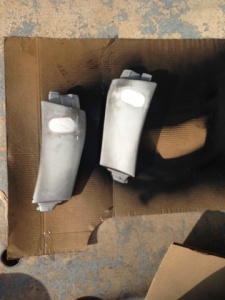
4. Spray paint the head lights and tail lights yellow. Spray paint any other pieces you may want yellow at this time (key, ignition, gas cap, door lock, little white screw covers) and set aside to dry.
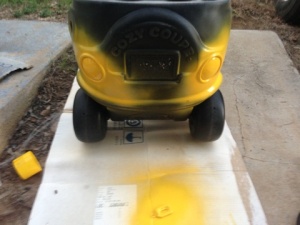
IMG_21835. Since I used a cozy coupe with eyes, I removed the eyes and the filled the top portion of the holes with silicone caulk to prevent dirt/water/bugs from crawling into the small holes. I also filled in all the Little Tikes logos so I could create a flush surface to paint on. While it was wet I used a paint scraper to remove excess caulk and to make perfectly flat fillings. Let dry till clear, and then remove any excess caulk by gently rubbing off or cut off by using a knife, then rubbing to remove.

IMG_2188 IMG_2187

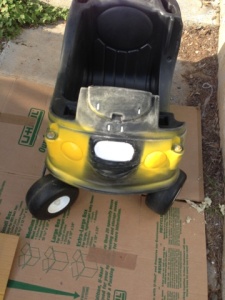
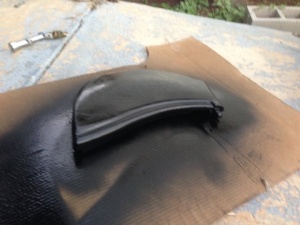
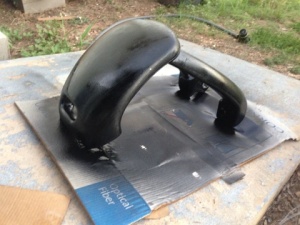
6. Cover/tape head lights then spray paint the Cozy Coupe Glossy Black. Be sure to follow the directions on the can to achieve the best results. Let dry overnight.

IMG_2184 IMG_2185 IMG_2189

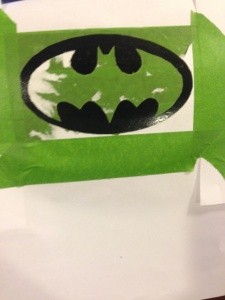
7. Choose where you want to place your batman logo, and print out the bat symbol. I used this one I pulled from a google search. I enlarged it and shrunk it down to fit where I wanted the symbol. I used two small symbols to cover the Little Tikes emblems on the “frame”, a medium for the front and back, and two large ones for the side/door.

batman-logo-outlines-1

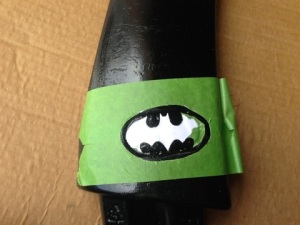
8. I overlapped some pieces of painters tape onto a cutting board to form a big rectangular sticker, I then used some glue stick to glue the emblem onto the top of the tape, and then I used an exacto knife to cut out the decals. Gently life decals and apply to desired areas.

IMG_2273 IMG_2275

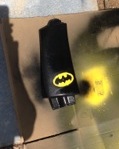
9. Cover the surrounding areas so that yellow mist doesn’t ruin your previous work (If you do get some yellow mist spray some black paint onto the cardboard and use a paintbrush to touch up). Use the yellow spray paint to achieve an amazing batman decal. Let dry overnight or until completely dry before removing the tape.

IMG_2276

10. After applying all the decals, allowing to dry, and then removing all the tape, you may feel the need to use a small paint brush and go back to touch up the decals. To do this I just spray a small amount of the paint onto some excess cardboard and then paint cleaner more defined edges.

11. Cover cozy coupe and black portions of the wheels. Spray the “rims” chrome for an added touch. I cut a circle in a decent sized piece of paper and used it to block me from painting the wheels. I then touched the wheels up with black spray paint where it was needed with a paint brush.

12. Reassemble! Double check it is dry every where, and then let your kid cruise around in his/her new Batmobile!

IMG_2292

G cruising in his Batmobile.

All photos are my property, and they may not be used without my permission.
Easy Banana Ice Cream

When my father in law came over for his banana bread yesterday we got on the subject of ice cream, and I decided I needed to make some before the Texas heat gave way to cool crisp autumn days. Since my FIL has been so helpful lately, I decided to make him his favorite… Banana ice cream. The man loves bananas, banana pudding, banana bread, banana ice cream. Which is great because bananas are cheap!

Anyways, this recipe is simple. I use a self-freezing ice cream machine, so I don’t need ice or rock salt. I picked it up a few years back off of craigslist from a guy who said his wife was forcing him to get rid of it. He was almost in tears as I put it in my car, and kept saying to be careful and not to shake it. I felt bad for him, but I got an awesome ice cream maker for about $50.

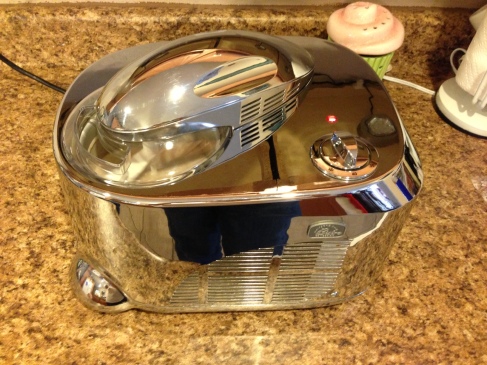
This is the name of the specific one I use: Wolfgang Puck Automatic Self-Refirdgerated Frozen Ice Cream & Sorbet Maker

The recipe is out of the user manual courtesy of Marian Getz, and it yields about 1 quart of ice cream. The finished product tastes like banana cream-sicles and is amazing if you love bananas.

Banana Ice Cream

Ingredients:

16 ounces pureed banana (about 5 bananas)

2/3 cup sugar

1/8 teaspoon kosher salt (I used fine ground sea salt)

2 teaspoons lemon juice

2/3 cup heavy cream

1/2 teaspoon vanilla

Directions:

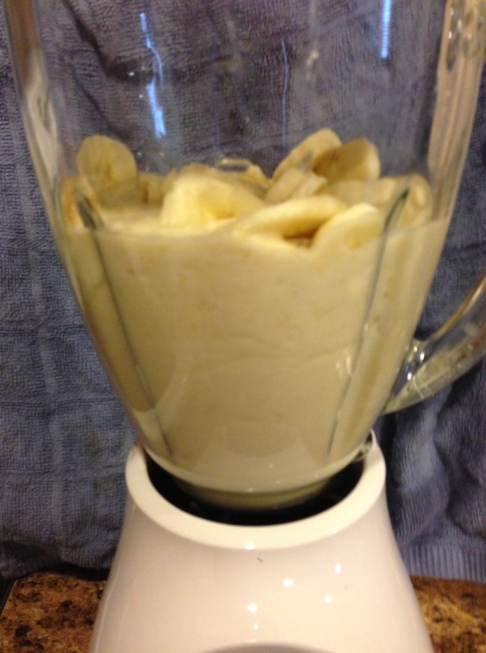
1. Puree bananas in a blender

Image

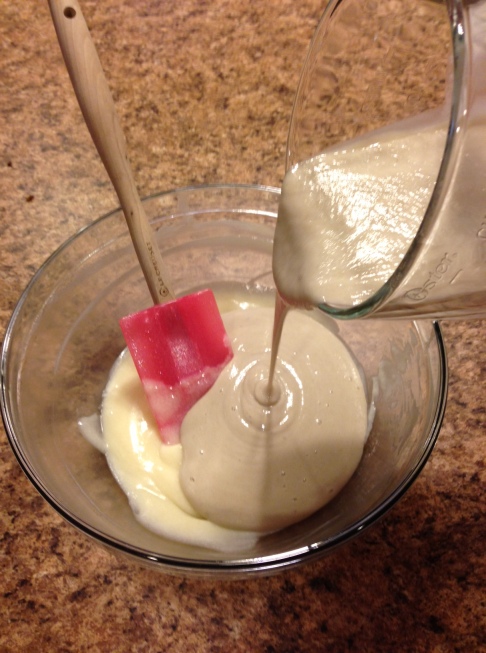
2. Combine all ingredients in a mixing bowl

Image

3. Chill mixture for at least 2 hours (overnight works too) in the refrigerator.

4. Pour chilled mixture into mixing bucket

5. Insert assembled dasher motor into bucket (this is the gadget that churns the ice cream)

6. Plug in your ice cream maker to an appropriate outlet, and set timer for 40 minutes. Soft serve stage is ready in about 25-30 minutes. When the dasher meets resistance unplug the appliance to prevent any damage.

Image

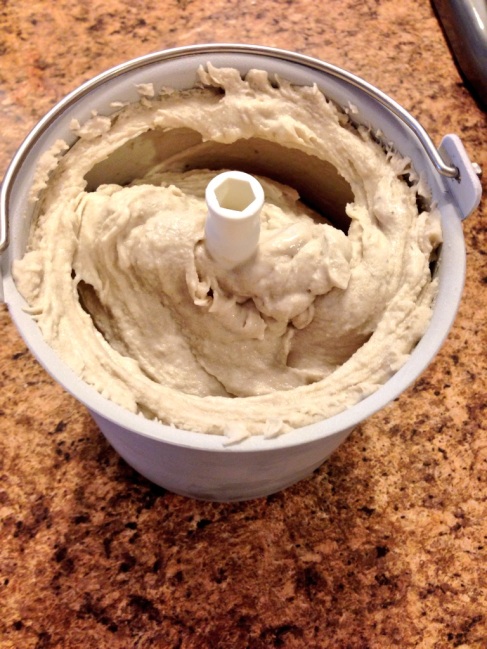
7. Twist bucket and gently remove from the machine.

Image

8. Scrape the ice cream mixture into a freezable airtight container. If mixture doesn’t come to top place wax paper or parchment over the top of the ice cream and press down gently to limit air exposure. Freeze for at least 3 hours to achieve hard consistency.

Notes: Churning times can vary depending on the type of machine you use and how cold the initial mixture is. This is homemade ice cream so some separation may occur after first freeze.

Mmmm… Banana Nut Bread

I was rearranging the food in my freezer, and realized I had stored over ripe black bananas in there like a squirrel stores nuts for the winter. I pulled out about 12 bananas total, and moved them to the fridge to thaw. Over ripe defrosted bananas stink, but they make the BEST bread.

I let K and G help me gather our ingredients, and mash the bananas. They love mashing them into a chunky paste. I love baking with them. They get a kick out of the stand mixer, and of course want to try every ingredient. K was adamant about tasting the baking soda, I tried to warn him, but being a 5 year old, he knew best. He gagged for the next 15 minutes while I tried not to roll on the floor with laughter.

Here is the recipe I use:

1 1/4 all-purpose flour
1 teaspoon baking soda
1/2 teaspoon fine salt
2 large eggs
1/2 teaspoon vanilla extract
1 stick unsalted butter (at room temp)
1 cup sugar
3 very ripe bananas, peeled and mashed
1/2 cup chopped walnuts or pistachios

Sift the flour, baking soda and salt into a bowl, set to the side. Whisk the eggs and vanilla together in a small bowl/cup, set to the side. Grease and flour a loaf pan. Preheat oven to 350 degrees F.

Cream the butter and sugar in a stand mixer with the paddle attachment until light and fluffy. While mixing, pour the egg mixture into the butter until incorporated. You may need to stop to scrape down the sides of the bowl to get the mixture to fully incorporate. Add the bananas to the mix. Mix till mixture looks curdled/separated, and then remove the bowl from the mixer.

Slowly add in the flour mixture, and stir with a rubber spatula until just incorporated. Fold in the nuts, and pour the batter into the greased and floured pan.

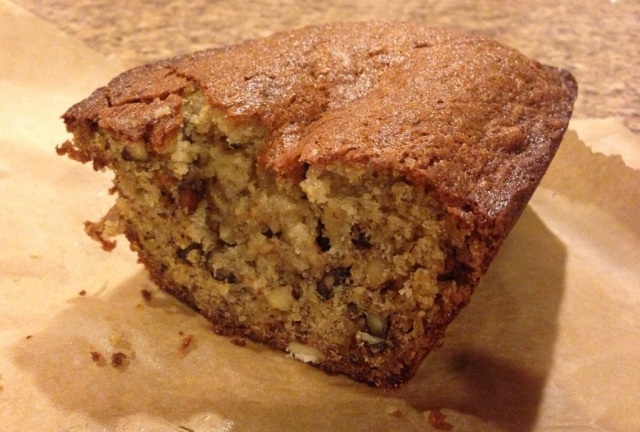
Bake at 350 until a toothpick inserted into the center of the bread comes out clean, about 40-50 minutes. Cool the bread in the pan on a cooling rack for 5 minutes. Turn the bread out of the pan and let cool completely on the rack. If you don’t have a rack, you can turn it out onto parchment paper. Wrap in plastic wrap to preserve moisture and freshness.

20130915-222432.jpg

Reward Wreath… DIY

When I was a little girl, my mom used to make a reward wreath for my teachers and for home as a means to reward us for hard work and good work ethic. It was also used to encourage us to keep pursuing our goals. Now that I have kids of my own, and now that K is in school, I had my mom show me how to make one step by step for my son’s teacher. I made this one rather basic, but a banner or more personalization could easily be added.

Image

Supplies:

Wire Hanger

Duct Tape/Painters Tape

Tissue paper of varying colors

White Tissue paper

String (Kite string works really well)

Small toys

Directions:

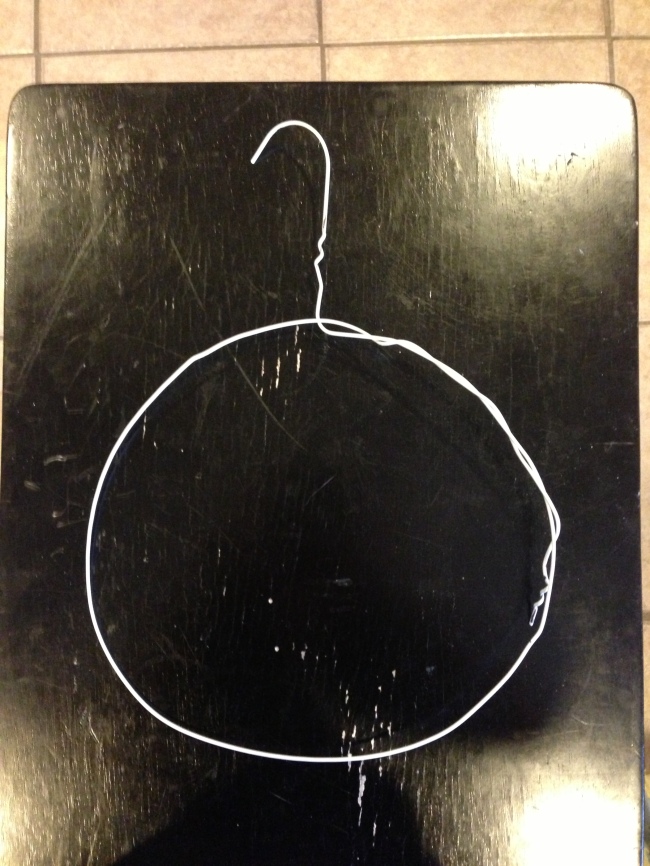
1. Take the wire hanger and untwist the wire.

2. Shape it into a circle. I overlap the wire 6-8 inches to make smaller wreaths, but you can make then any size. Keep in mind it will take more toys and tissue paper the larger the wreath.

Image

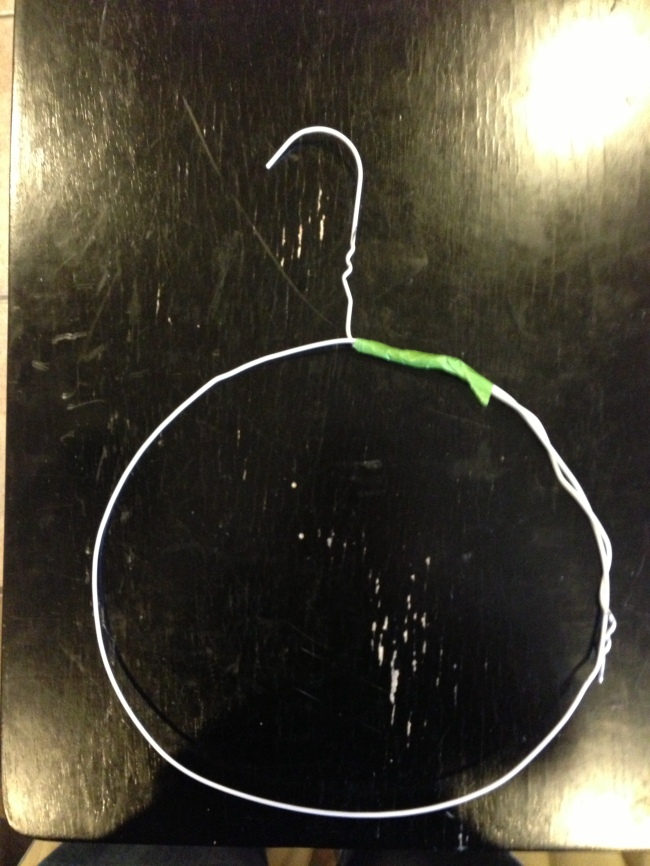
3. Once you have chosen a desired size, wrap the extra wire around, and tape around the entire hanger.

This is how I start it.

Image

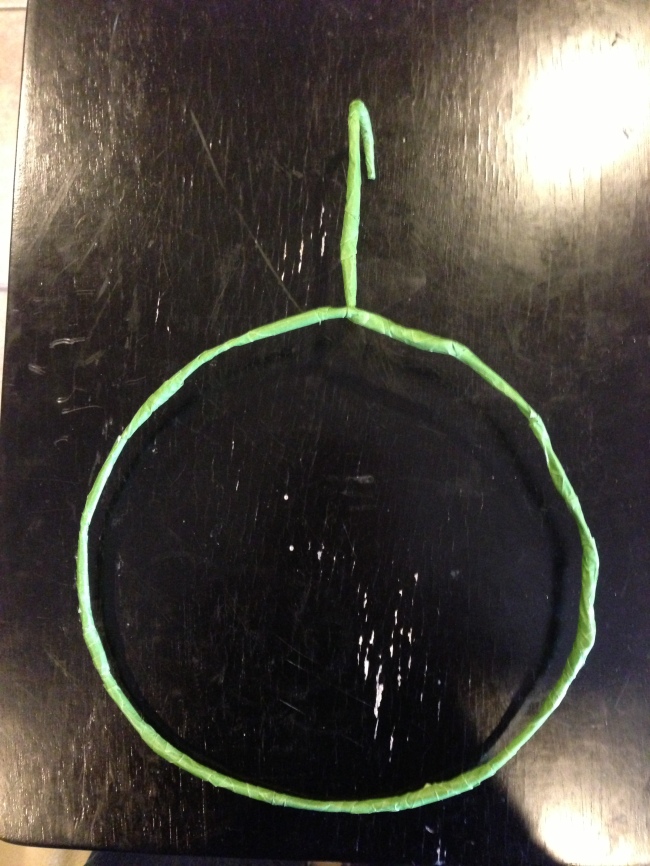
When you are done taping it should look like this:

Image

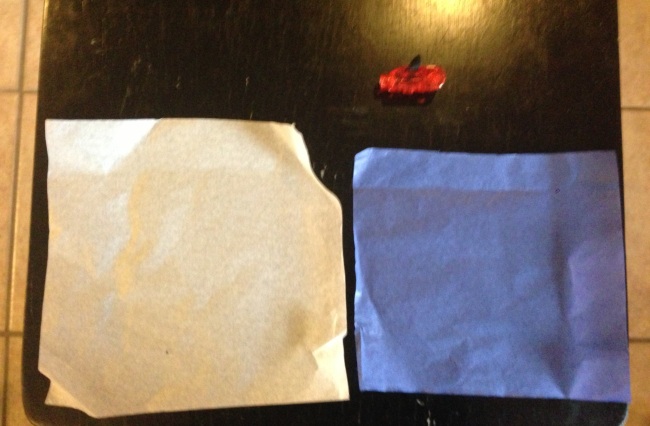
4. Cut tissue into squares large enough to wrap toys.

Image

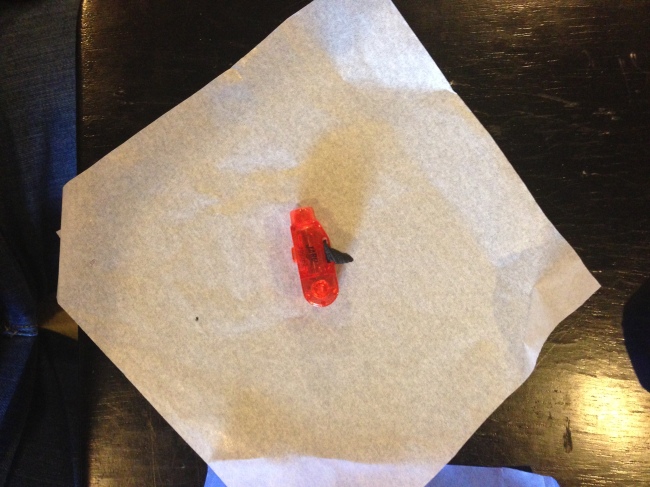
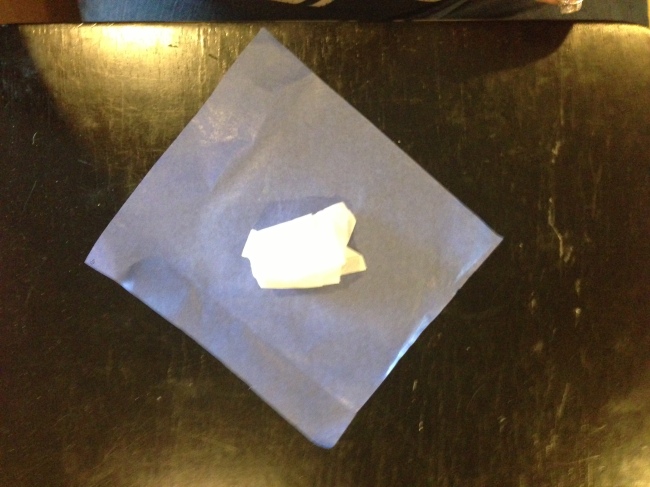
5. Place toy in each WHITE tissue square and fold tissue around the toy.

Image

6. Place wrapper toy inside colored tissue

Image

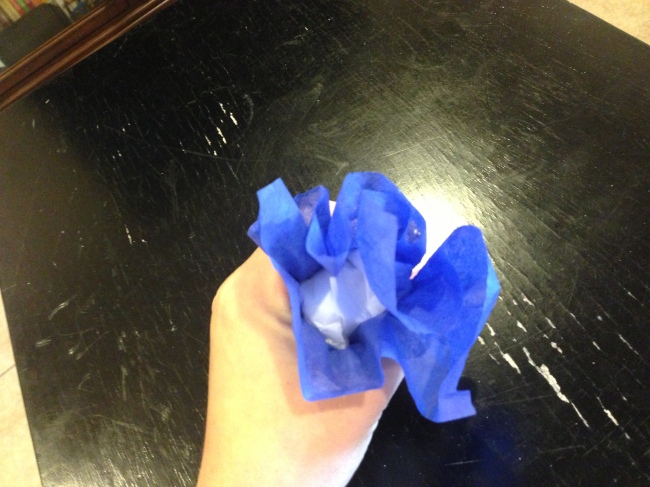
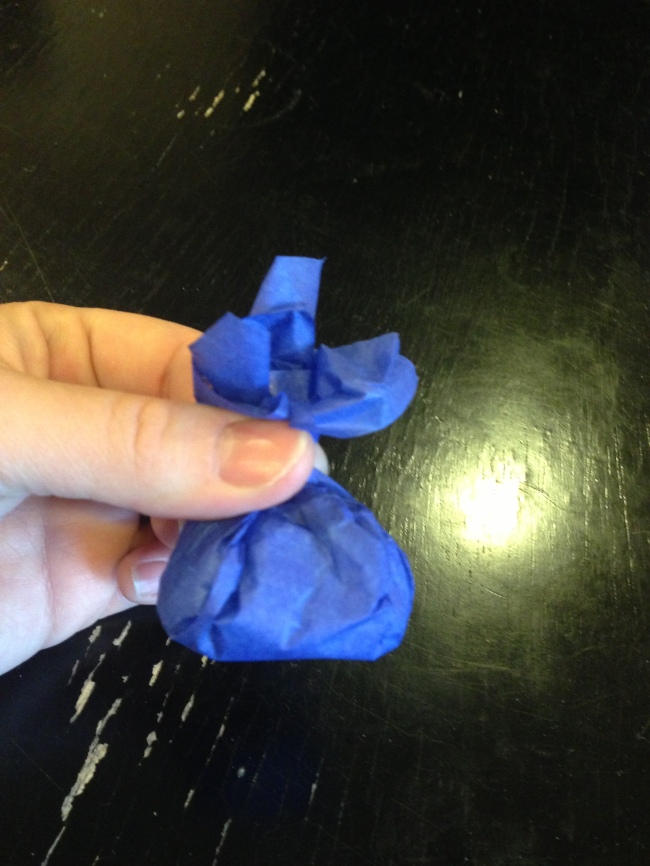
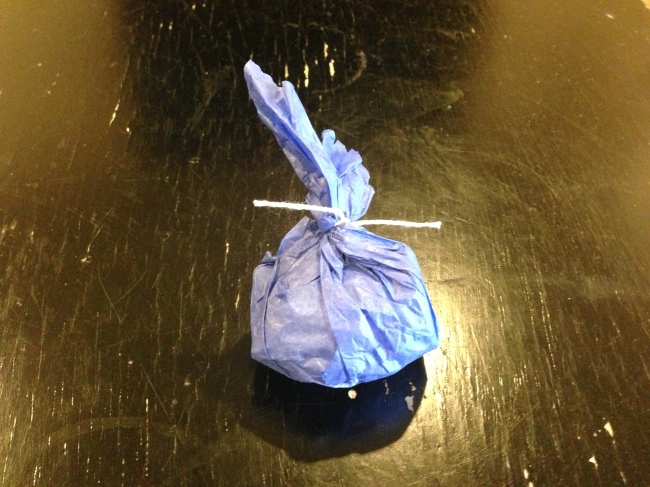
7. Gather colored tissue around the wrapped toy, twist, and tie closed with string.

Image

Image

Image

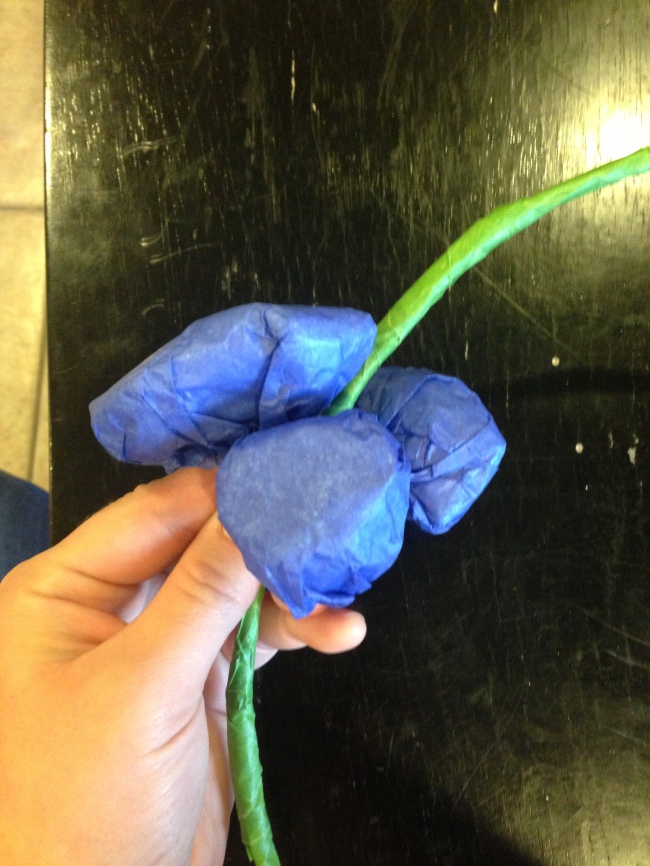
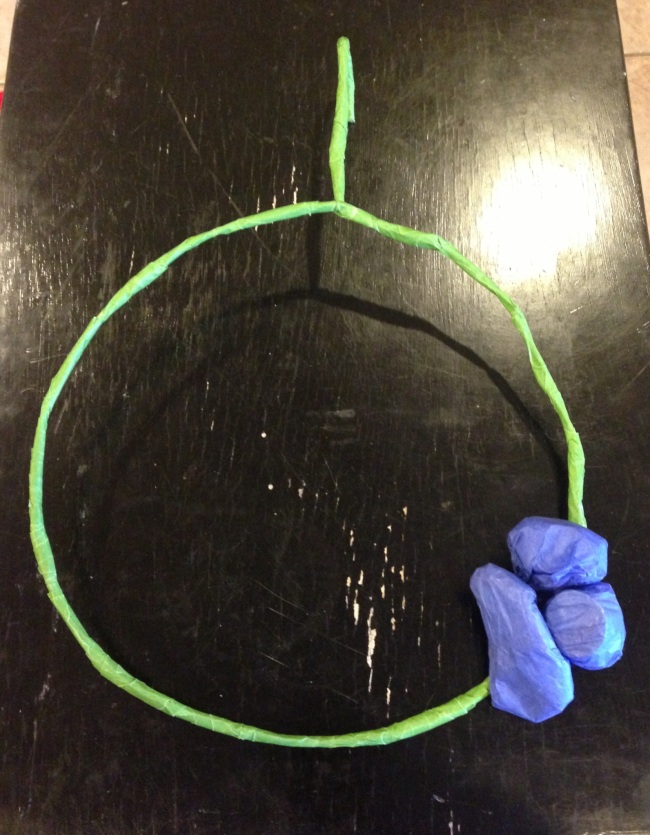
8. Take finished wrapped toys, and tie each tissue wrapped toy to the wreath with stringImage

Image

9. Keep doing this until you reach the desired fullness you want. I even do the back of the wreath so the wreath lasts longer.

Image

And there you have it. A reward wreath! You can attach scissors for the teacher to cut each reward off the wreath, or you can have the child rip the colored tissue and take the white tissue wrapped toy out of the colored tissue.

K started Kindergarten

My oldest started Kindergarten today. It was bittersweet, and I’ll admit it… I cried on the way home form dropping him off. He is growing so fast, and looks more and more like my husband every day.

This week has been crazy. K started the week in one class, and because there were so many additional kids he ended up being moved to another class. I think it as a blessing in disguise. His original teacher was a little off. She had a hard time with making eye contact with me, and just gave me a weird vibe. Maybe it is because I am technically K’s stepmom? I know some people get their panties in a wad when a stepmom is called mom. However, his new teacher is great, and she is very friendly. I love love love her. He really likes her, and they seem to communicate better. 

K is still learning the rules, and is having fun making new friends. We are excited for what the year has in store. Soccer has started back up, so we are busy little bees. 

I wanted to share a poem his teacher sent out at meet the teacher. It made me cry.


My First Day

I gave you a wink and a smile

as you entered my room today.

For I know it is hard to leave

And you know your child must stay. 

You’ve been with him for five years now

And have been a loving guide,

But now, alas, the time has come

To leave him at my side. 

Just know that as you drive away

And tears down your cheeks may flow

I’ll love him as I would my own

And help him learn to grow.

For as a parent, I too know

How quickly the years do pass

And that someday it will be my turn

To take my child to class.

So please put your mind at ease

And cry those tears no more

For I will love him and take him in

When you leave him at my door.


I love my son so much, and I am so anxious to see him grow into a young man. 

Image

I see potty training in my immediate future

Today I called one of the preschools in town to ask about getting G into preschool, and to ask some basic questions. Our town does not boast many actual preschools, where they actively teach your child. I asked if they required the two year olds to be potty trained, and she did not give me a solid yes. The admin said something along the lines of, ” we like them to be basically potty trained, but we expect them to have accidents”. I’m not really sure what she meant by that.

Two is young for boys to potty trained. K didn’t fully potty train till he was 4. He still has the occasional accident. G is 4 months away from turing two, so that gives me till Spring to get him well on his way to being potty trained. Thankfully, he has been showing a great amount of interest in using the potty, and is letting me know when he has soiled his diaper. 

I ordered a little potty, and a new toilet seat with a toddler seat that flips up and down. Next stop, Walmart for some big boy undies and bribes. 

Thankful for rain

If you live in Texas, you have heard about the major droughts we have been having. Central Texas has been hit really hard with the drought. The Brownwood Lake has been extremely low this summer, this is where we get the water for homes from. We were approaching stage 4 water restrictions, but thankfully we have had two rains that have helped to bring up the lake levels. It has also brought some cooler temperatures. It has been such a nice break from the 104 degree days. The boys and I have been able to get out and play for longer periods of time, and really enjoy the outdoors. We are so thankful for the rain, and pray for more. Our tanks could really use some steady rainfall. 

A BRIEF introduction

I am originally from a much bigger city near Houston, but I fell in love and married a country boy. I moved to a small town that boasts a Walmart, a small movie theatre, and a “mall” that has a handful of stores in it. I live with my husband and two boys out in the country on over a hundred acres. We have a few goats and three dogs. We live just down the road from my in-laws, which is nice and not all at the same time. 

 
About me:
 
I am a formally trained chef, and I graduated with high honors from Le Cordon Bleu in Austin, TX. 
I just finished my online bachelor’s degree with Le Cordon Bleu in Culinary and Hospitality Management 
I am in the process of starting up my own home based baking business.
My sons are 5 and 1.5. Having boys is a blast.
I was born and raised in Texas. 
I love being a mother, and I wouldn’t trade it for the world. 
I am pro breastfeeding, and I am still breastfeeding my youngest
I have been the proud mama of chameleons, leaf-tail geckos, hedgehogs, and a feisty sugar glider. 
 
 
These are my three pups: Prince, Bailey, and Molly 🙂
Image
 
 
(Prince is a mix of Australian Shepherd and Great Pyrenees, Bailey is a Doberman Pinscher, and Molly is a Boxer)